Water beads are a fantastic way to add color, texture, and creativity to your home decor or event centerpieces. These tiny, clear gel beads, which expand when soaked in water, offer a unique way to bring vibrant, personalized flair to any setting. But did you know that you can take it a step further and color these water beads to match any theme, mood, or style? In this blog, we will walk you through an easy, step-by-step guide on how to color water beads for stunning, customized centerpieces. Whether you’re preparing for a wedding, birthday party, or simply sprucing up your home, these colored water beads will make your centerpiece stand out!
Table of Contents
What Are Water Beads?
Water beads, also known as gel beads or water pearls, are small, dehydrated beads that grow to several times their size when placed in water. Originally used in gardening to retain moisture for plants, these beads have found a second life as a decorative element in home decor, wedding tables, and party centerpieces.
Because water beads are clear, they can act as a neutral base, allowing for customization through color. Coloring water beads not only enhances their visual appeal but also makes them versatile enough to match any theme, color scheme, or seasonal decor. Best of all, they are reusable, eco-friendly, and affordable!
Materials You’ll Need
Before you get started, gather the following materials:
- Clear water beads: You can find these at craft stores, online, or in the gardening section.
- Food coloring, liquid dye, or acrylic paint: These will be used to add color to your water beads.
- Water: To hydrate the beads.
- Plastic containers or bowls: For mixing and coloring.
- Optional: Gloves: If you want to avoid staining your hands during the coloring process.
Step-by-Step Guide to Coloring Water Beads
Coloring water beads is a straightforward process. Follow these steps for beautifully customized beads that will make your centerpieces shine.
Step 1: Hydrate the Water Beads
The first thing you need to do is hydrate the beads. Take the dehydrated, tiny water beads and place them in a large bowl. Fill the bowl with water and let the beads soak. Depending on the size and brand, the beads will take anywhere from 4 to 8 hours to fully expand. For best results, soak them overnight.
Once the beads have absorbed the water, they will become soft, bouncy, and full-sized. Make sure there’s enough water in the bowl, as the beads can absorb a significant amount of it. The beads should appear fully round and transparent.
Step 2: Prepare the Dye
Next, choose the type of color you want to use. Here are a few options:
- Food coloring: This is the easiest option and comes in a wide variety of colors. It mixes well with water and offers bright, vivid hues.
- Liquid dye: Available at craft stores, liquid dye works similarly to food coloring but tends to provide deeper, more intense colors.
- Acrylic paint: For a more opaque or pastel color, you can use a small amount of acrylic paint mixed with water. Be cautious, as using too much paint may clump the beads together.
Once you’ve selected your coloring agent, mix a few drops of your chosen dye with water in a separate bowl. The more dye you add, the darker the color will be. If you’re aiming for a subtle hue, add just a drop or two. For vibrant colors, use more dye.
Step 3: Add the Dye to the Hydrated Beads
Now that your beads are fully hydrated and your dye is prepared, it’s time to color the water beads. Transfer the soaked water beads into the bowl with the dye solution. Stir gently to ensure the dye is distributed evenly.
If you’re coloring a large number of beads or want multiple colors, you can split the beads into different bowls and dye each batch a different color. Let the beads sit in the dye for about 1-2 hours to fully absorb the color.
Step 4: Let the Beads Absorb the Color
Once the water beads are soaking in the dye, all you have to do is wait! The beads will gradually absorb the color. For a more intense color, leave the beads in the dye solution for up to 2 hours. Check them periodically to see how the color is developing. Once the beads have reached your desired color, carefully drain the excess dye from the bowl.
Step 5: Rinse and Drain Excess Dye
After the beads have absorbed the color, it’s important to rinse them to remove any excess dye that could transfer to your centerpiece materials or stain other objects. Place the colored beads in a strainer and rinse them with cold water for about 30 seconds. Then, gently shake off any excess water, and your colored water beads are ready to use!
Alternative Methods for Coloring Water Beads
If you’re looking for other ways to add color to your water bead centerpieces, here are a few additional methods:
- Pre-Dyed Water Beads: You can purchase pre-colored water beads if you don’t want to go through the DIY process. However, dyeing them yourself offers more flexibility in matching your color scheme.
- Mixing Colors: To create a layered or blended effect, you can mix different colored water beads together. This works especially well for themed parties or events with multiple colors in the decor.
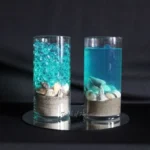
- Use Colored Water: Instead of coloring the beads themselves, you can place clear water beads in colored water to achieve a translucent, glowing effect.
Tips for Long-Lasting, Vibrant Color
To ensure that your colored water beads remain vibrant throughout your event or as a long-term decoration, follow these simple tips:
- Avoid Direct Sunlight: Exposure to sunlight can fade the color of water beads over time. Place your centerpieces in shaded areas to preserve their brightness.
- Keep Them Hydrated: Water beads can shrink if they dry out. To keep them looking fresh, add a little water to the beads every few days.
- Proper Storage: If you’re not using the beads immediately, store them in an airtight container with a small amount of water. This will keep them hydrated and prevent the color from fading.
Creative Centerpiece Ideas Using Colored Water Beads
Now that your water beads are beautifully colored, it’s time to get creative! Here are a few ideas to inspire your next centerpiece project:
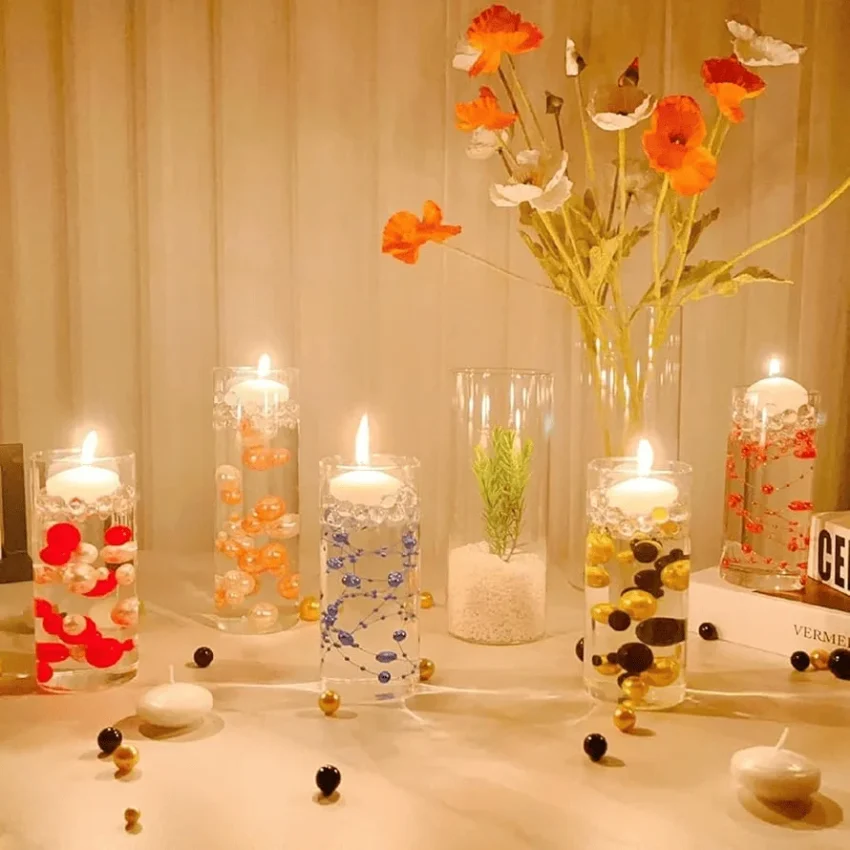
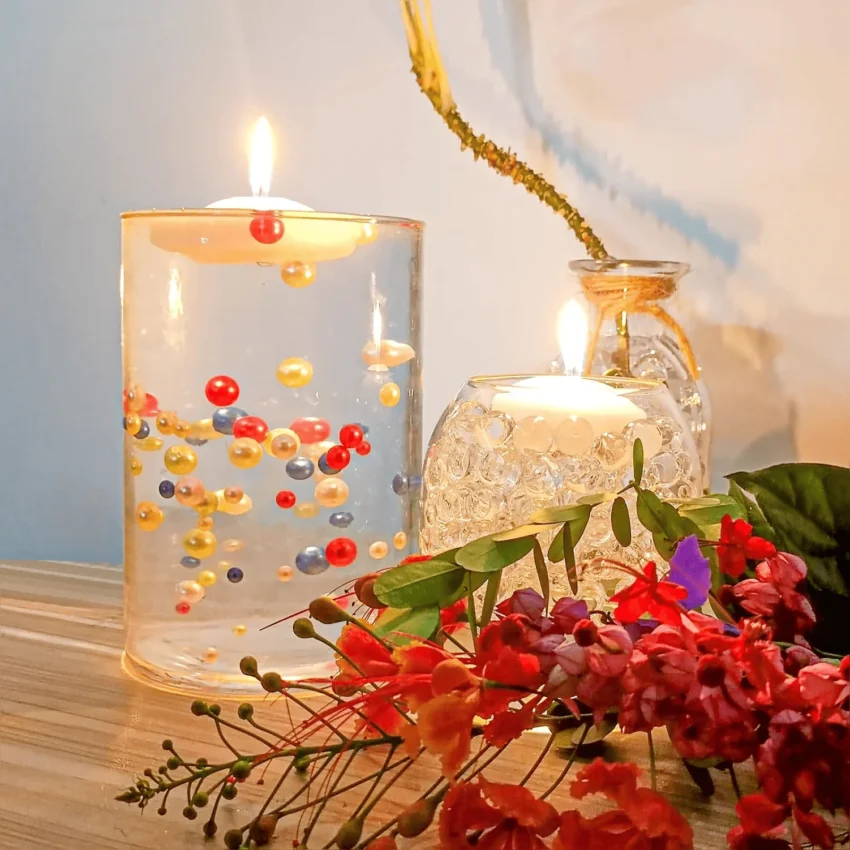
- Floral Arrangements: Use colored water beads to support fresh or artificial flowers. The beads will not only hold the stems in place but also add a pop of color to the arrangement.
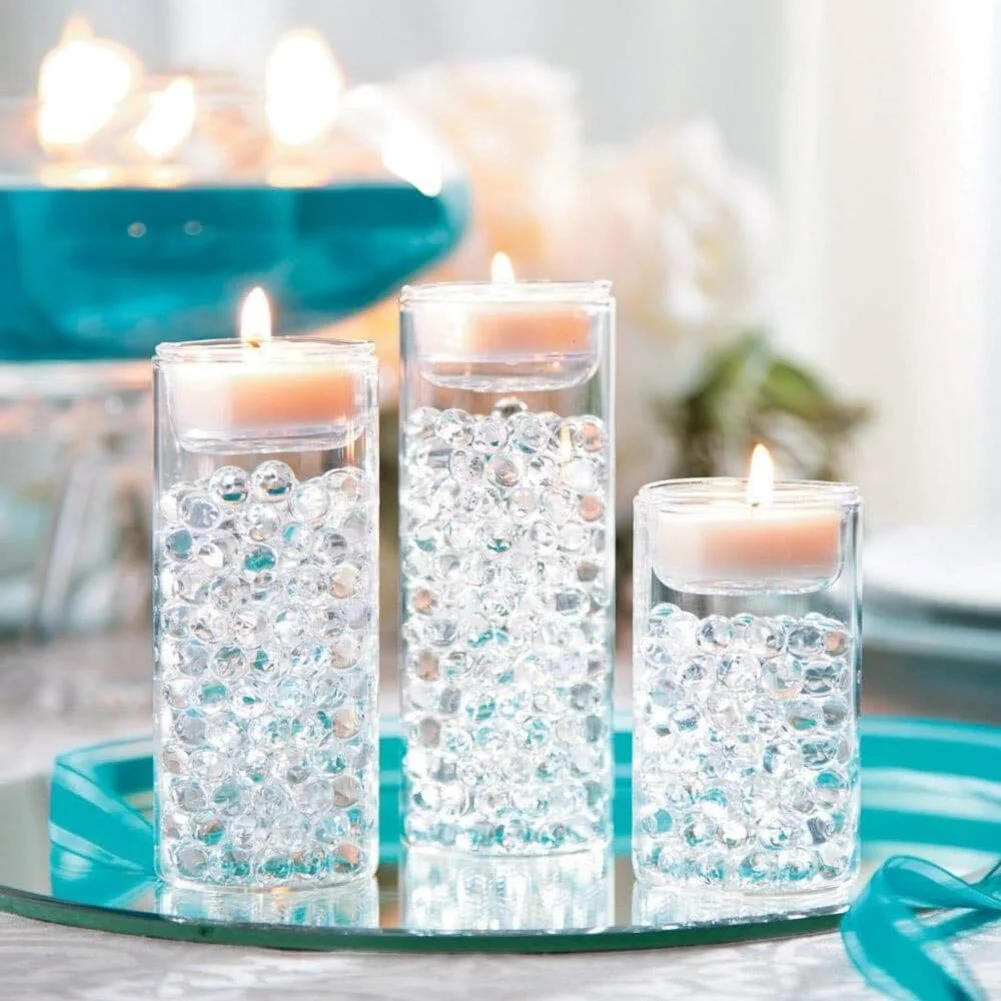
- Floating Candles: For an elegant touch, place floating candles on top of water beads in a clear vase or bowl. The light from the candles will reflect off the beads, creating a warm, glowing effect.
- Themed Events: Match the color of your water beads to the theme of your event. For a wedding, use soft pastel beads; for a holiday party, go for bold, seasonal colors like red and green.
Conclusion
Coloring water beads is a simple yet effective way to customize your centerpieces and add vibrant, personalized decor to any occasion. Whether you’re preparing for a wedding, a birthday party, or simply adding some color to your home, this DIY method allows for endless creative possibilities. Experiment with different colors, techniques, and centerpiece ideas to make your next event unforgettable!

Jessica Muller is an accomplished writer at Water Beads Design, holding a Bachelor’s degree in Fine Arts with a focus on Design and Visual Communication. Her expertise in water bead artistry is backed by over 5 years of experience in the field, where she has developed a deep understanding of artistic techniques and design trends. Jessica’s writing reflects her extensive knowledge and creative approach to water bead design. For professional tips and innovative ideas, follow Jessica on Instagram.