Halloween is just around the corner, and it’s time to start thinking about how to bring that spooky, festive vibe into your home. While decorating your entire space can be overwhelming, creating a stunning Halloween table centerpiece is an easy and effective way to set the tone. The best part? You can put together a beautiful and eerie display in just minutes!
In this blog, we’ll guide you step-by-step on how to create a quick and eye-catching Halloween centerpiece using simple materials that you might already have around your house. Let’s dive in!
Table of Contents
Gather Your Supplies
Before you start creating your masterpiece, it’s essential to gather the right materials. The beauty of a Halloween centerpiece is that it can be made with a variety of items, both new and old, to fit any style. Here’s a list of common supplies you might need:
- Candles or LED lights (battery-operated for safety)
- Mini pumpkins or gourds
- Fake spider webs
- Plastic spiders, bats, or skeletons
- Old jars or bottles (for a “witch’s potion” look)
- Branches or twigs
- Black or dark-colored fabric (table runner or sheer cloth)
- Halloween-themed ornaments (like skulls or haunted house miniatures)
- String lights (optional but adds a great spooky glow)
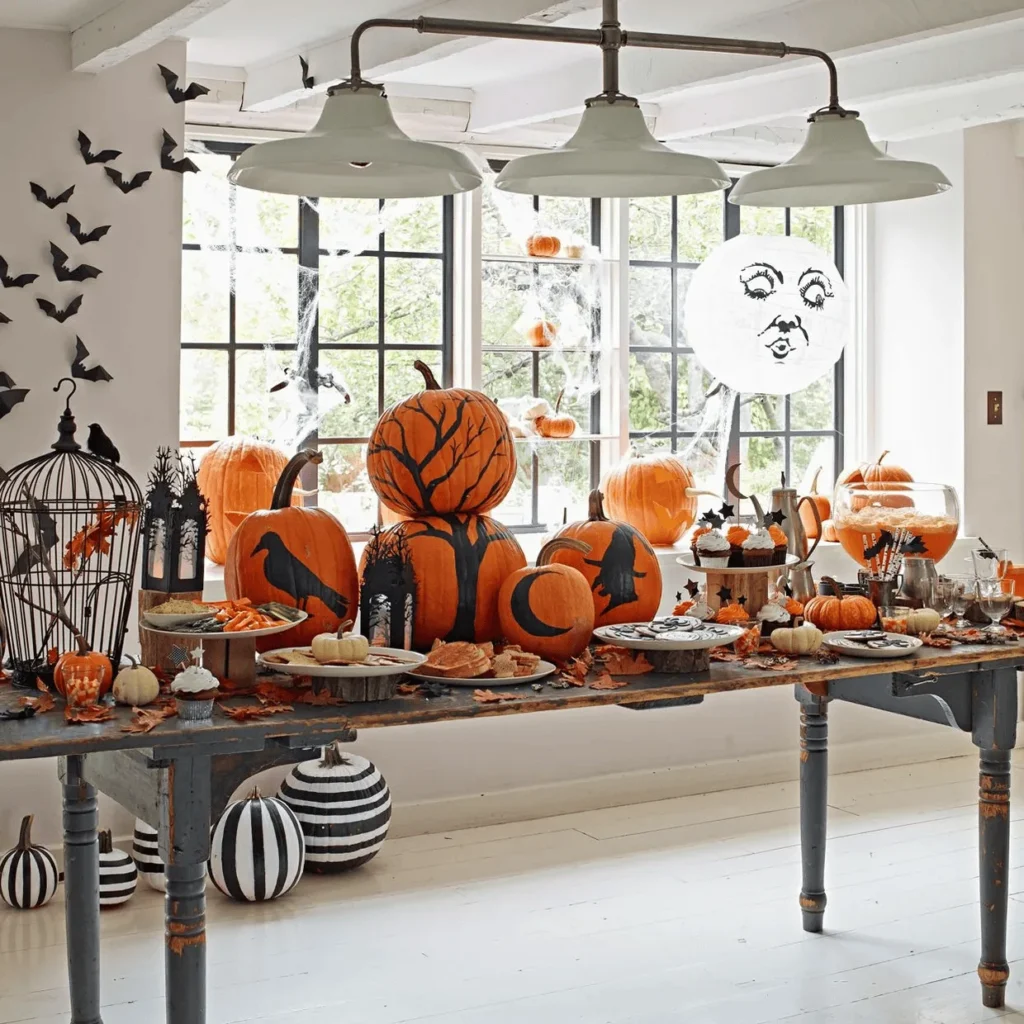
Don’t worry if you don’t have everything on the list. You can get creative and use everyday items like mason jars, old bottles, and candles you already own. Halloween is all about mixing and matching to create a spooky, cohesive look. If you’re missing a few pieces, most of these can be found at your local dollar store, making this centerpiece idea super affordable.
Choose a Theme
Choosing a theme for your centerpiece will help bring everything together. Whether you want to go full-on spooky or keep it more elegant and understated, deciding on a central theme will guide your design choices. Here are a few ideas to get you started:
1. Spooky Graveyard
Imagine small tombstones, creepy branches, and tiny skeletons scattered around. Use a few plastic skulls or skeleton hands poking out of the “dirt” (which could be shredded paper or dark fabric).
2. Witch’s Brew
Think cauldrons, potion bottles, and black candles. Add a witch’s hat or broom for an extra touch. Old jars with spooky labels can act as “potions” and give that magical feel.
3. Haunted Forest
For a more nature-inspired centerpiece, gather twigs, dark flowers, and moss. Place fake ravens or owls among the branches to create an eerie, forested look.
Once you choose your theme, it will be easier to figure out what supplies to use and how to arrange them.
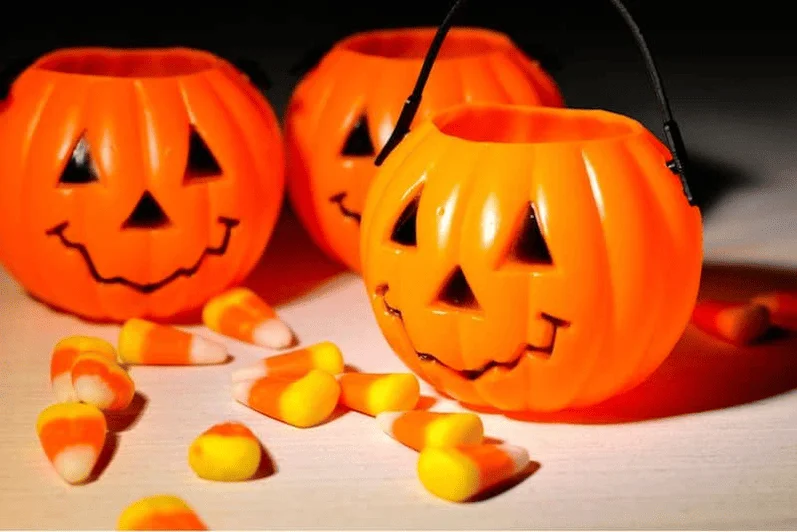
Step-by-Step Instructions for a Quick Centerpiece
Now that you’ve gathered your materials and picked a theme, it’s time to start creating. Follow these steps for a fast, yet stunning, Halloween centerpiece:
1. Start with a Base
Choose a sturdy base like a tray, plate, or even a large piece of dark fabric to keep all your decorations organized. This will also help contain any loose items like moss, branches, or pumpkins.
If you don’t have a tray, use a cutting board or any flat surface that blends well with your chosen theme. The base helps keep everything in place and adds structure to your centerpiece.
2. Add Height and Dimension
A centerpiece should always have some varying heights to make it visually interesting. You can achieve this by adding candles, tall jars, or stacking items like mini pumpkins or books to create different levels.
For example, place a large candle or a spooky lantern in the center and surround it with smaller items like jars filled with fake spiders or potion labels. Tall branches or twigs can add a creepy, forest-like vibe, while string lights wrapped around them will enhance the spooky effect.
3. Layer in Texture
Once your main items are in place, it’s time to layer textures. You can use materials like fake spider webs, moss, or even cheesecloth to create a ghostly effect. Draping black lace or sheer fabric around the base adds a mysterious and dark feel, perfect for Halloween.
If you want to go for a more rustic look, incorporate some dried flowers or dead leaves. These natural elements complement the spooky atmosphere while giving your centerpiece a unique touch.
4. Highlight with Lights
Lighting can make or break a Halloween centerpiece. To add an eerie glow, use LED candles or string lights. Place them strategically around your centerpiece, especially in spots where you want to draw attention.
For example, if you’ve placed a “potion bottle” or a spooky skull as your focal point, make sure it’s illuminated with a soft glow. String lights wrapped around branches or hidden beneath layers of fabric can create a hauntingly beautiful effect.
5. Final Touches
Now that your centerpiece is almost done, it’s time to add the finishing touches. Scatter mini pumpkins, fake spiders, or plastic bats around the base for extra detail. You could even add small “tombstones” or handwritten tags on the jars with creepy potion names like “Witch’s Brew” or “Zombie Blood.”
These final details help tie the whole look together and make your centerpiece feel complete. Don’t be afraid to play around with different elements until you achieve the look you want.
Time-Saving Tips for Creating in Minutes
If you’re in a hurry or short on time, here are a few hacks to speed up the process:
- Use Pre-Made Decorations: There’s no shame in using store-bought items to get the job done faster. Grab a Halloween centerpiece kit, or simply arrange a few pre-decorated pumpkins and candles on a tray.
- Stick with One Color Scheme: To keep things cohesive and reduce decision-making time, pick a simple color scheme like black and white, orange and black, or purple and black. This will streamline your choices and make it easier to put together.
- Quick Setup with Glue Dots: Use glue dots or sticky tack to quickly secure items like mini pumpkins, fake spiders, or small decorations. This makes it easier to set up and rearrange if needed.
Display and Enjoy!
Once your centerpiece is finished, it’s time to showcase it. The dining table is the most obvious choice, but you can also place it on an entryway table, kitchen island, or even a coffee table to bring Halloween magic into any room.
Make sure the centerpiece isn’t too tall or bulky if you’re using it for a dinner party—your guests will want to see each other across the table! Pair the centerpiece with other Halloween decorations like spooky-themed tablecloths, plates, and napkins to create a complete look.
Conclusion
Creating a stunning Halloween table centerpiece doesn’t have to take hours of work or cost a fortune. With a few simple materials, a little creativity, and these easy steps, you can put together an eye-catching display in just minutes. Whether you’re hosting a Halloween party or just want to bring the spooky spirit into your home, a centerpiece is a perfect way to add festive flair.
So, gather your supplies, choose your theme, and start decorating! We’d love to see what you create—feel free to share your photos or additional tips in the comments. Happy haunting!
Read more related posts:
- Seasonal Party Decorations: How to Transform Your Home for Fall Celebrations
- 10 Creative DIY Baby Shower Decoration Ideas to Make Your Event Unforgettable
- Trending Wedding Decoration Styles in 2024: Modern, Rustic, and More
- Creative Wedding Decoration Tips for a Picture-Perfect Day

Jessica Muller is an accomplished writer at Water Beads Design, holding a Bachelor’s degree in Fine Arts with a focus on Design and Visual Communication. Her expertise in water bead artistry is backed by over 5 years of experience in the field, where she has developed a deep understanding of artistic techniques and design trends. Jessica’s writing reflects her extensive knowledge and creative approach to water bead design. For professional tips and innovative ideas, follow Jessica on Instagram.

